- Commissioning
- Connect devices
- VARTA energy storage
VARTA energy storage
This page describes how to connect a VARTA energy storage system to the SOLARWATT Manager.
Table of contents
Compatibility
| EnergyManager pro | Manager flex | |
|---|---|---|
| pulse neo | * | ** |
| element S5 backup | * | ** |
| Cascade element S5 | * | ** |
| Cascade pulse neo | * | ** |
*) Varta Split Core Sensor cannot be used as main meter. The installation of an additional bidirectional meter is required.
**) Varta Split Core Sensor can be used as the main meter.
Installation and configuration
Preliminary remarks
- The installation and configuration of the VARTA energy storage system may only be carried out by certified electricians in accordance with the specifications of VARTA AG. Certification training is a prerequisite for installation and warranty.
- VARTA element S5 backup with a serial number < 127101623 require a firmware update.
Contact VARTA Technical Support (+49 9081 240 - 86 6044; technical.service@varta-storage.com) after successful commissioning in accordance with VARTA's certification training and before connecting to the SOLARWATT Manager and have the firmware update installed. - Simultaneous control of system components (inverters, loads) by the EnergyManager pro and the VARTA Energy Management leads to system malfunction. Therefore, control the system exclusively via the SOLARWATT Manager.
Main meter
Manager flex
When using a VARTA battery in combination with the SOLARWATT Manager flex, the installation of the Varta Split Core Sensor is sufficient.
The Split Core Sensor acts as the main meter.
EnergyManager pro
The use of a VARTA battery in combination with the EnergyManager Pro requires the installation of one of the following bidirectional meters in addition to the VARTA Split Core Sensor
- SOLARWATT AC-Sensor (link to Installation instructions)
- Shelly Pro 3EM (link to Installation instructions)
- bidirectional S0-meter (link to Installation instructions)
One of these meters must be installed in series with the Split Core Sensor and serves as the main meter for the EnergyManager.
Installation instructions
- Install the VARTA Split Core current sensor on the top-hat rail in the switch cabinet. Follow the Installation instructions from VARTA (mandatory requirement: VARTA certification training).
- Restore the power supply.
- Connect the VARTA energy storage device to the VARTA Split Core current sensor via the sensor cable (included in the scope of delivery of the VARTA energy storage device).
- Connect the VARTA energy storage system to the customer network via Ethernet (LAN data cable; RJ45 plug).
- Configure the VARTA energy storage system in accordance with the VARTA operating instructions. You will receive the documents at the VARTA certification training course.
- Assign a static IP address to the VARTA energy storage system via the router's user interface.
Varta cascade
A cascade connection is the operation of up to five Varta energy storage systems in a network.
Cascade consisting of Varta Element energy storage units (with Varta Link)
Cascading of up to five VARTA energy storage systems (max. gross capacity: 97.5 kWh with 5 VARTA element backup 18) is possible via the Varta Link. A software version 130xxxxxx is required; a free software update is available for older versions.
The Varta Link is used as an electricity meter and for internal communication within the network.
Please refer to the relevant Varta operating instructions for configuration and installation.
Connection to the EnergyManager pro
Each energy storage system must be connected to the Internet via a router or network switch.
Each energy storage device must be installed on the EnergyManager pro and configured as "house-side" in the SmartSetup.
It is not necessary to install the Varta Link on the EnergyManager.
The summation of the power and energy values of all energy storage devices is carried out by the EnergyManager pro.
Cascade consisting of Pulse neo and Element energy storage systems
The intelligent VS-XMS operating system of the pulse neo enables the device to be used as a master for the control and internal communication of cascade circuits. In addition to the device that acts as the master, up to 5 more of our AC batteries can be integrated into a cascade. The prerequisite for integrating a storage model into the cascade is software version 130xxxxxx. A free software update is available for older versions.
It is not necessary to install a Varta Link.
Please refer to the relevant Varta operating instructions for configuration and installation.
Connection to the EnergyManager pro / SOLARWATT Manager flex
Only the Varta pulse neo energy storage system defined as the master must be installed on the EnergyManager pro or SOLARWATT Manager flex. This transmits the totalized power and energy values of all cascaded energy storage devices.
Device search in SmartSetup
Manual installation
- In the drop-down menu, select Select devices or search for the corresponding entry according to the table below.
- Enter the required specifications according to the table below:
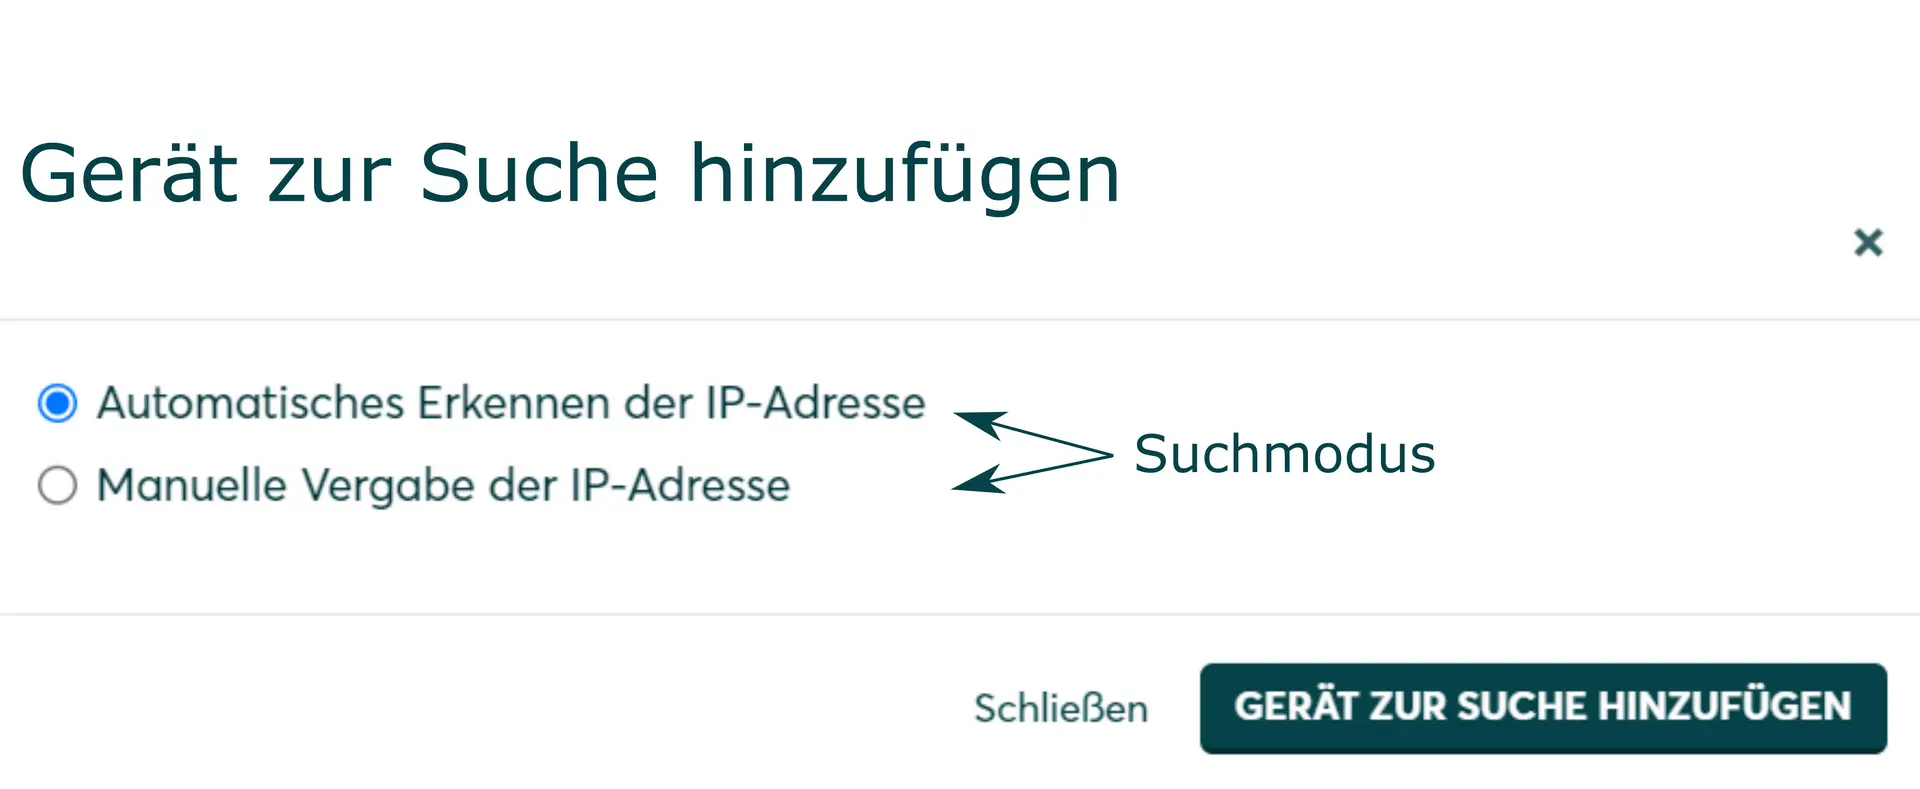
- Search mode
- IP address or host name
- Click Add device to search.
- If necessary, add further devices to the search, e.g. the meter used as the main meter when using an EnergyManager pro
- After adding all the devices to be searched for, click Search for and install devices.
You can recognize correctly installed devices by the message: Device is installed. in the device list. The list also shows the current generation data.
- If necessary, connect additional devices.
- Continue with SmartSetup PV plants.
Driver selection for device search
| energyManager pro | Manager flex | |||||||||
|---|---|---|---|---|---|---|---|---|---|---|
| Driver | Search mode | Driver | Search mode | |||||||
| VARTA (pulse neo/element) | Varta | Specification of the IP address* | Varta Storage | Specification of the IP address* | ||||||
*) Assignment of a static IP address (via VARTA network settings or router settings) recommended.
Further information on assigning IP addresses can be found here: Device connections via network
Selected articles:

