- Commissioning
- Connect devices
- S0 pulse counter
S0 pulse counter
S0 pulse counters are electrical energy meters that transmit their meter readings via electrical pulses.
Compatibility
Possible applications
| Energy Manager pro* | Manager flex | |
|---|---|---|
| S0 meter |
|
|
*) Prerequisite for use as main meter: Meter supports balancing measurement.
**) Without Digital Extension. Six additional S0 inputs are available when Digital Extension is used.
Tested meter types
Meters that supply pulses in accordance with EN62053-31 can be connected to the SOLARWATT Manager.
The following meter types have been tested for faultless operation on the SOLARWATT Managers. Other makes may be usable without restriction. The list only represents the devices tested by SOLARWATT.
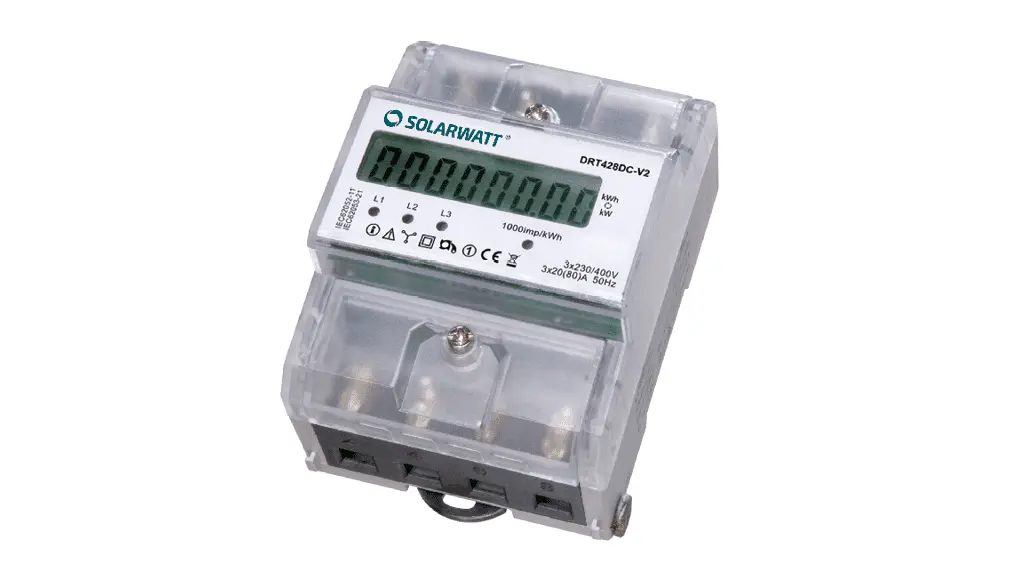
- SOLARWATT EnergyMeter (3-phase)
- SOLARWATT Manager meter 1-phase
- B+G DRS155D (1-phase)
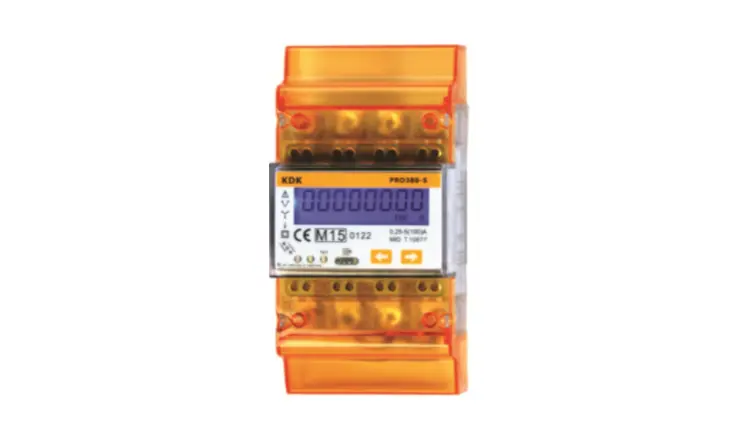
- KDK PRO380-S (3-phase, 2-direction meter)
- Eltako DSZ15D (Not compatible with Digital Extension)
- Eltako DSZ15DE (Not compatible with Digital Extension)
- Eltako WSZ15D (Not compatible with Digital Extension)
The Eastron SDM630 MCT is not compatible with the EnergyManager pro or SOLARWATT Manager flex.
Connection of S0 meter to Manager flex
Interface: S0
- Ensure the absence of voltage and verify it.
- Install the energy meter according to the measurement purpose. Ensure the correct connection direction (current flow direction) on the energy meter.
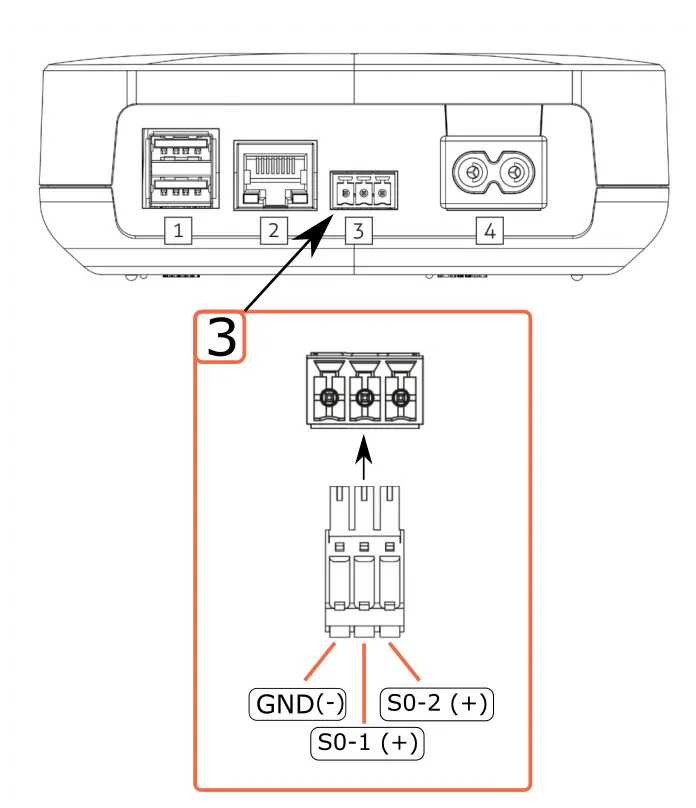
- Connect the cable for S0 pulse transmission to the S0 connector (included in the scope of delivery). Ensure the correct polarity as shown in the illustration below.
- The Manager flex provides several S0 interfaces. Make a note of which interface you have connected the meter to.
- Make a note of the pulse rate of the S0 meter (imp/kWh). This can be found in the operating instructions for the meter.
- Connect the cable for S0 pulse transmission to the pulse output of the energy meter.
- Connect the S0 plug to the S0 socket on the Manager flex.
- Restore the power supply.
Connection of S0 meter to EnergyManager pro
Interface: S0
- Ensure the absence of voltage and verify it.
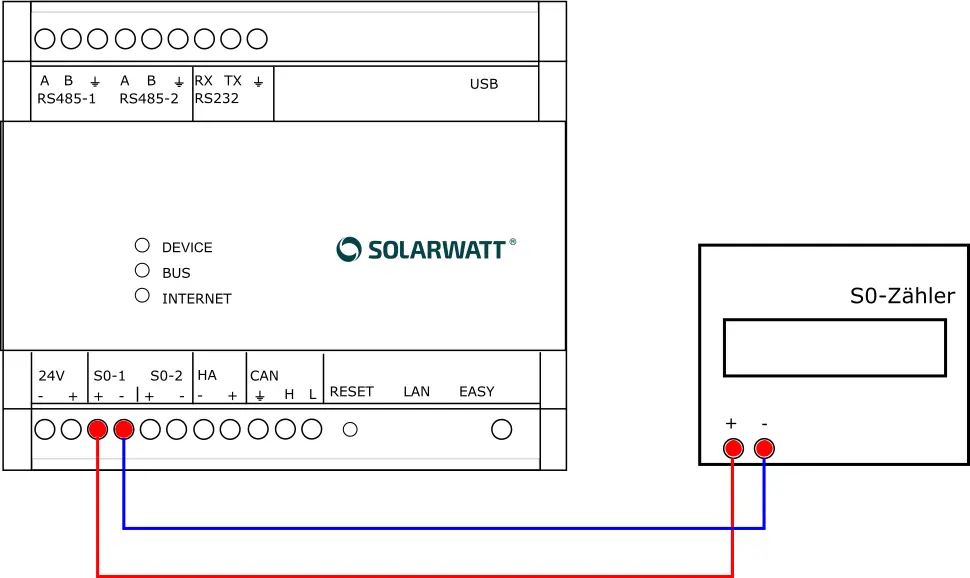
- Connect the connections (S0+ and S0-) of the S0 meter to the S0 connection terminals on the EnergyManager. Ensure that the polarity (S0+ and S0-) is correct.
- The EnergyManager provides several S0 interfaces. Make a note of which interface you have connected the meter to.
- Note the pulse rate of the S0 meter (imp/kWh).
- Restore the power supply.
SOLARWATT EnergyMeter (3-phase)
Meter type: Electric three-phase meter, single-direction meter with return stop.
Interface: S0
Supply voltage: 3 x 230 V/400 V
AC Nominal current / limit current: 20 A / 80 A
Communication: S0 (1000 imp/kWh); S0 pulse length: 90 ms
Applicable documents
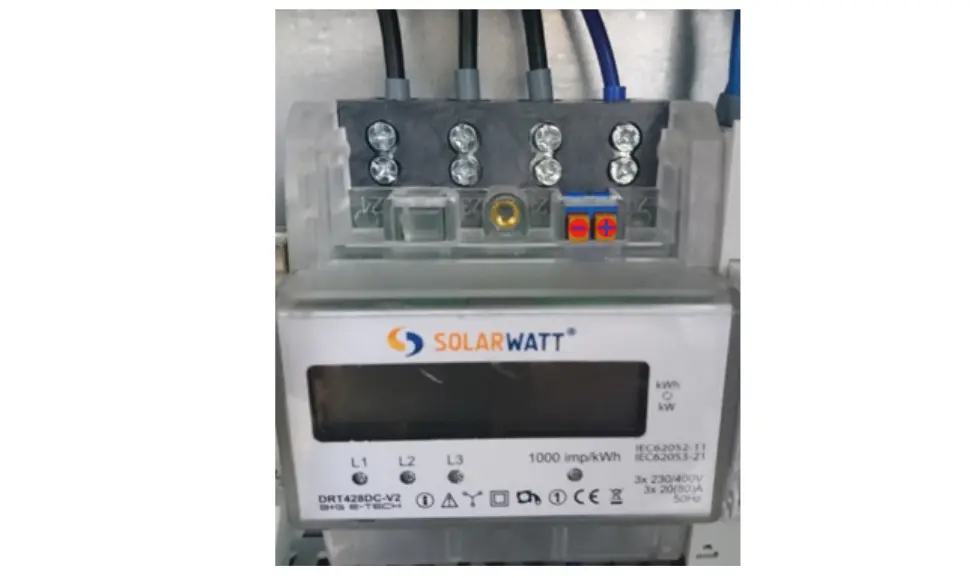
Pin assignment
Note the polarity of the S0 output according to the following illustration.
KDK pro 380
KDK pro 380
Meter type: Electric three-phase meter, bidirectional meter.
Interface: S0
Supply voltage: 3 x 230 V/400 V
AC Nominal current / limit current: 5 A / 100 A
Communication: S0 (pulse rate adjustable, standard: 1000 imp/kWh)
Applicable documents
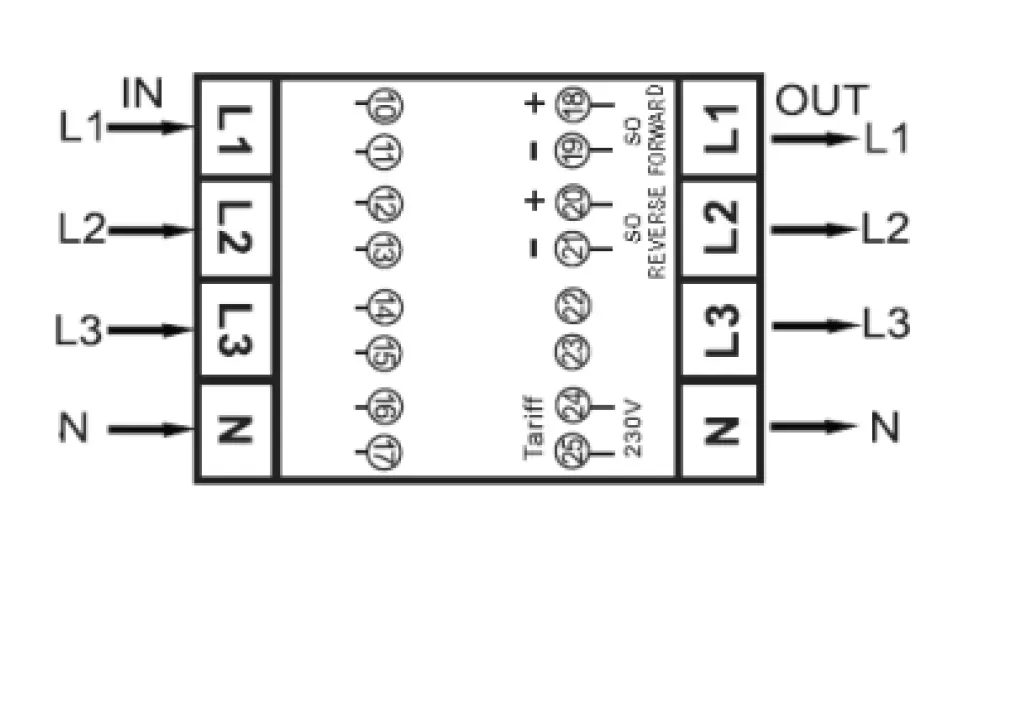
Connection terminals
| L1 (in) | Phase 1 input (mains) |
| L1 (out) | Phase 1 input (house) |
| L2 (in) | Phase 2 input (mains) |
| L2 (out) | Phase 2 input (house) |
| L3 (in) | Phase 3 input (mains) |
| L3 (out) | Phase 3 input (house) |
| N (in) | Neutral input (mains) |
| N (out) | Neutral input (house) |
| 18/19 | Pulse output (S0) Supply +/- |
| 20/21 | Pulse output (S0) Supply +/- |
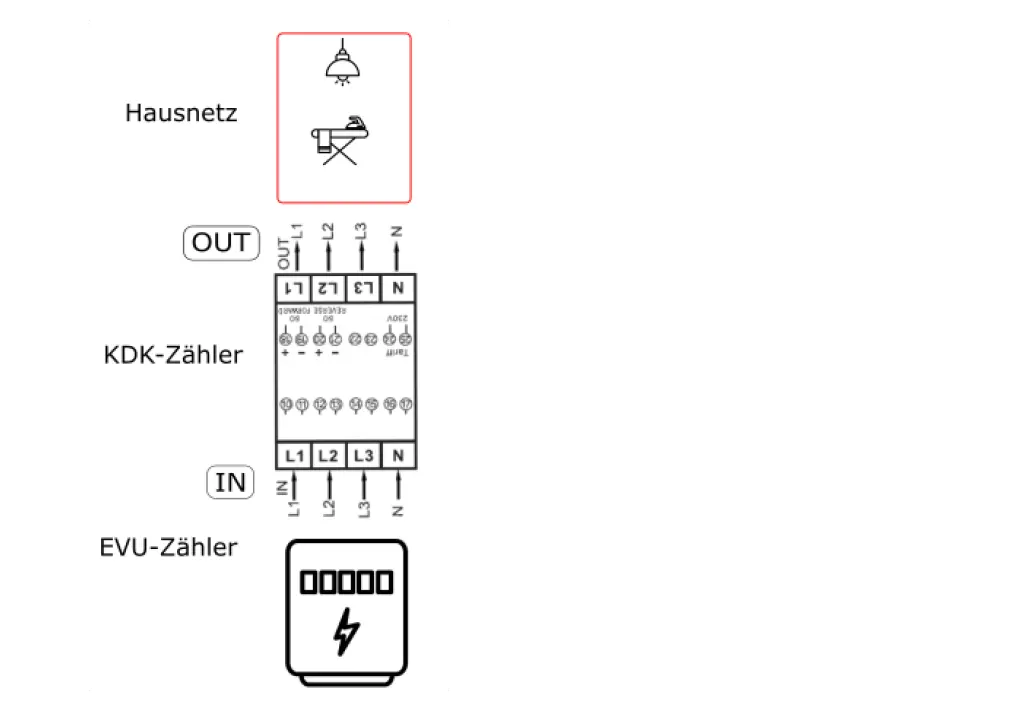
Installation position
| IN | Mains |
| OUT | House |
| S0 FORWARD | S0-1 Interface at the Manager |
| S0 REVERSE | S0-2 Interface on the Manager |
Device search in SmartSetup
- Start the SmartSetup.
- Select or search for the S0 meter driver in the Select devices drop-down menu.
- Select the interface to which the meter is connected.
- Enter the pulse rate. This can be found in the data sheet for the S0 counter.
- If necessary, add further devices to the search.
- When the search list is complete, click Search and install devices.
Correctly installed devices appear in the device list with the message: Device is installed. The list also shows the current generation data.
- If necessary, connect additional devices.
- Continue with SmartSetup.
Selected articles:
